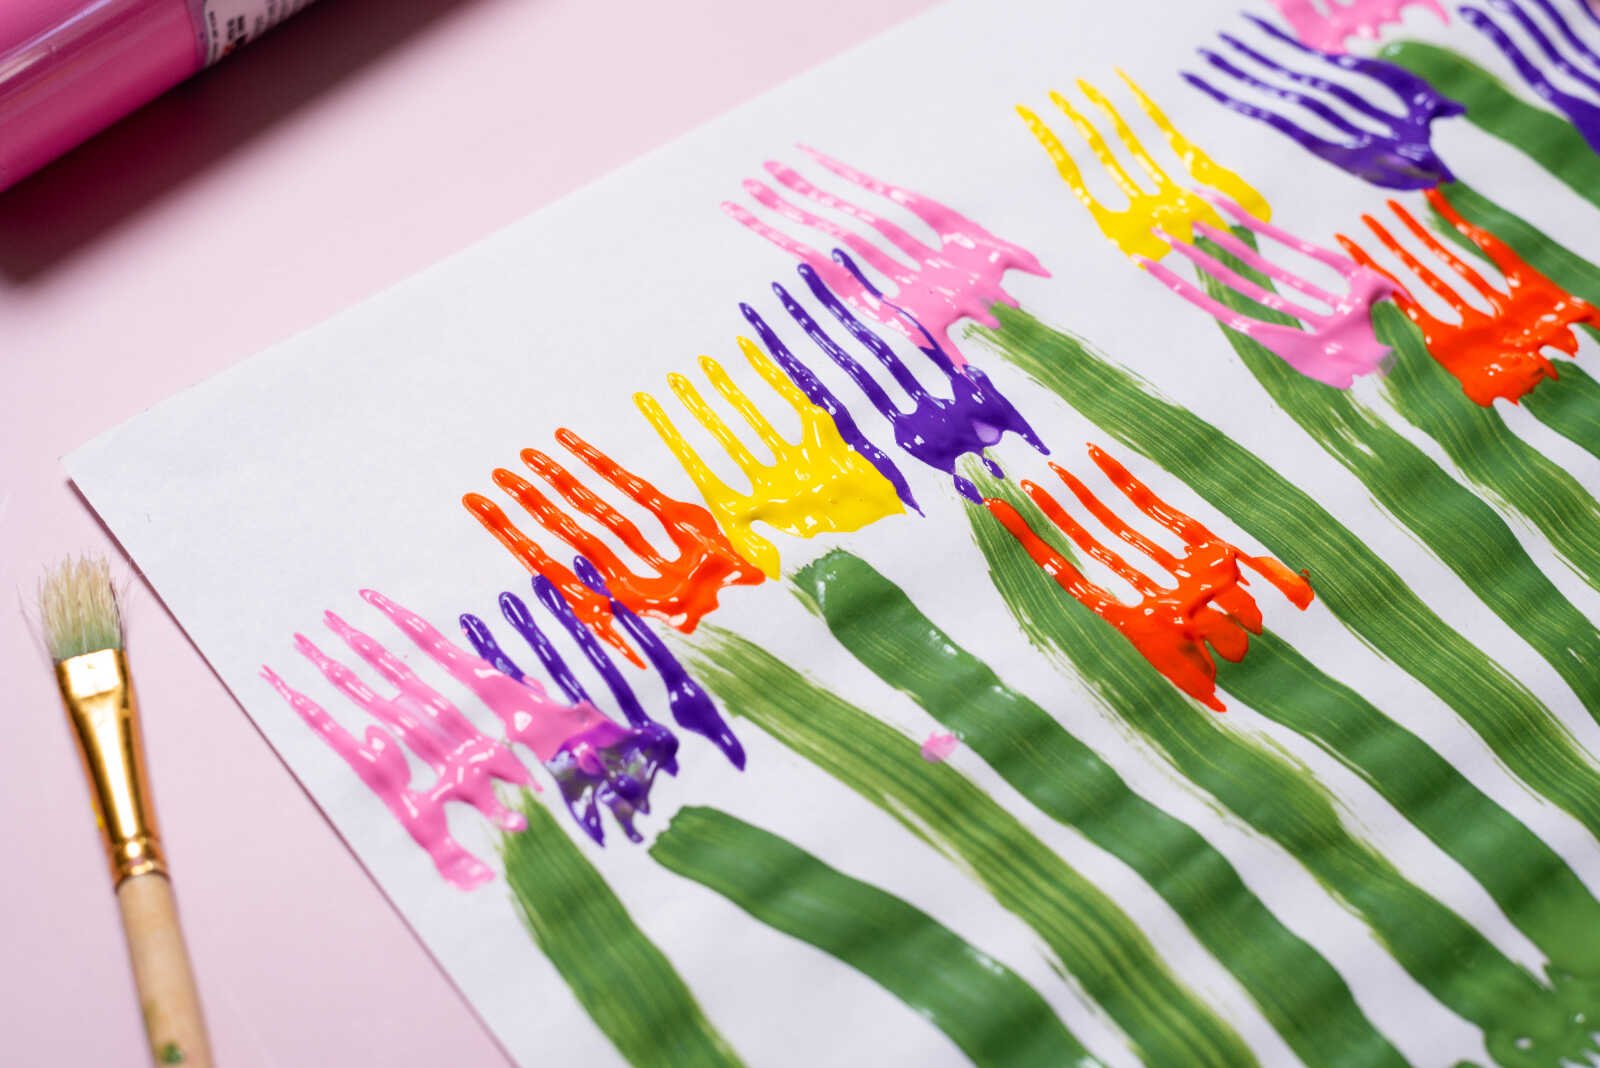
Fork-Stamped Tulips Kids Craft: Easy, Fun and Colorful!
If you’re looking for a simple, affordable, and absolutely adorable spring craft for kids, this fork-stamped tulips craft is one you’ll want to bookmark immediately. It combines painting, texture play, and creativity—all while using everyday household items you already have on hand.
As a mom (and someone who’s always creating kid-friendly crafts for blog content and Pinterest), I love projects that are low-prep, high-impact, and this one checks every box. Kids get to explore different painting techniques, experiment with colors, and create a finished piece that actually looks frame-worthy.
Whether you’re planning a spring activity, Easter craft, homeschool art lesson, or just a rainy day project, this fork-stamped tulip garden is guaranteed to be a hit with toddlers, preschoolers, and even early elementary kids.

Why Kids Love Fork Painting
Before we dive into the steps, let’s talk about why this craft works so well for kids.
Fork painting introduces a whole new sensory experience. Instead of using a traditional brush, kids use the tines of a fork to create texture, which makes the process feel playful and a little bit messy (in the best way).
Here’s why it’s such a great activity:
- Encourages fine motor skill development
- Builds hand-eye coordination
- Introduces texture and pattern creation
- Boosts creative confidence
- Works for a wide range of ages
Plus, there’s something magical about watching a simple fork transform into grass and flowers right before their eyes.
Supplies Needed
One of the best parts of this craft is how simple the supply list is. You likely already have everything at home.
You’ll need:
- Forks (plastic or metal)
- Paint (green for grass/stems + tulip colors: pink, purple, red, yellow)
- Paintbrush (small to medium tip)
- White cardstock or heavy paper
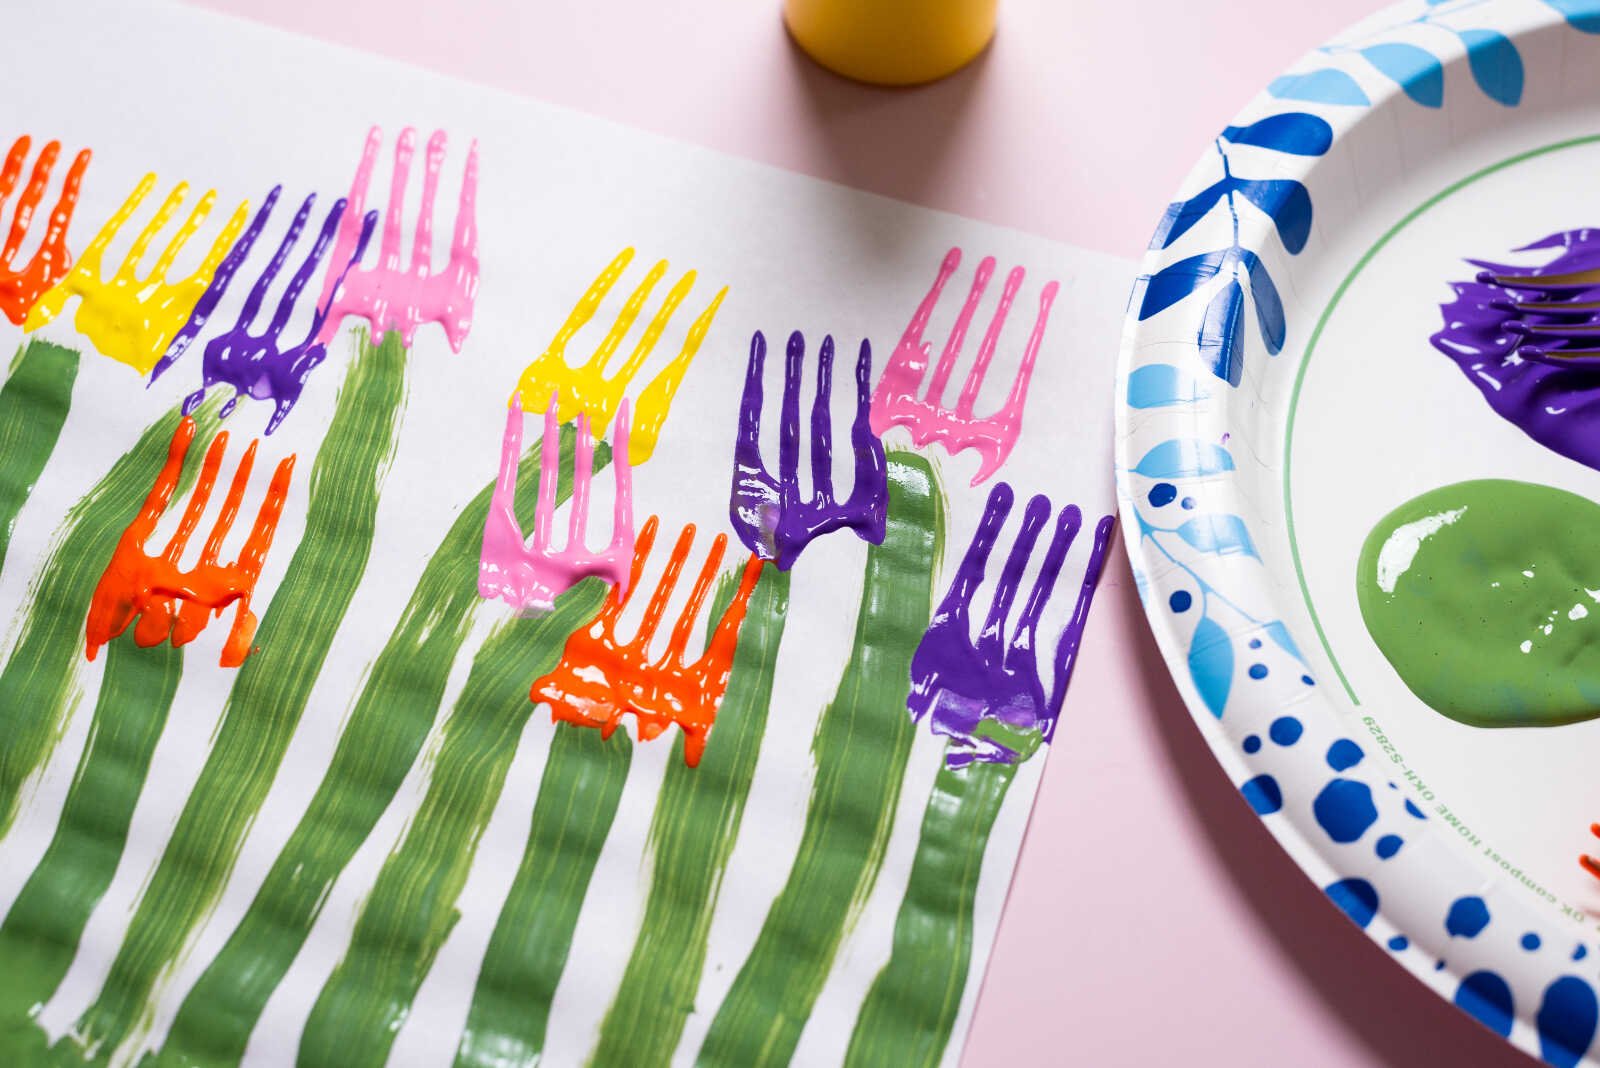
- Paint tray or paper plate
Optional add-ons:
- Aprons or old t-shirts
- Paper towels for easy cleanup
- Glitter paint for extra sparkle

Step-by-Step Instructions
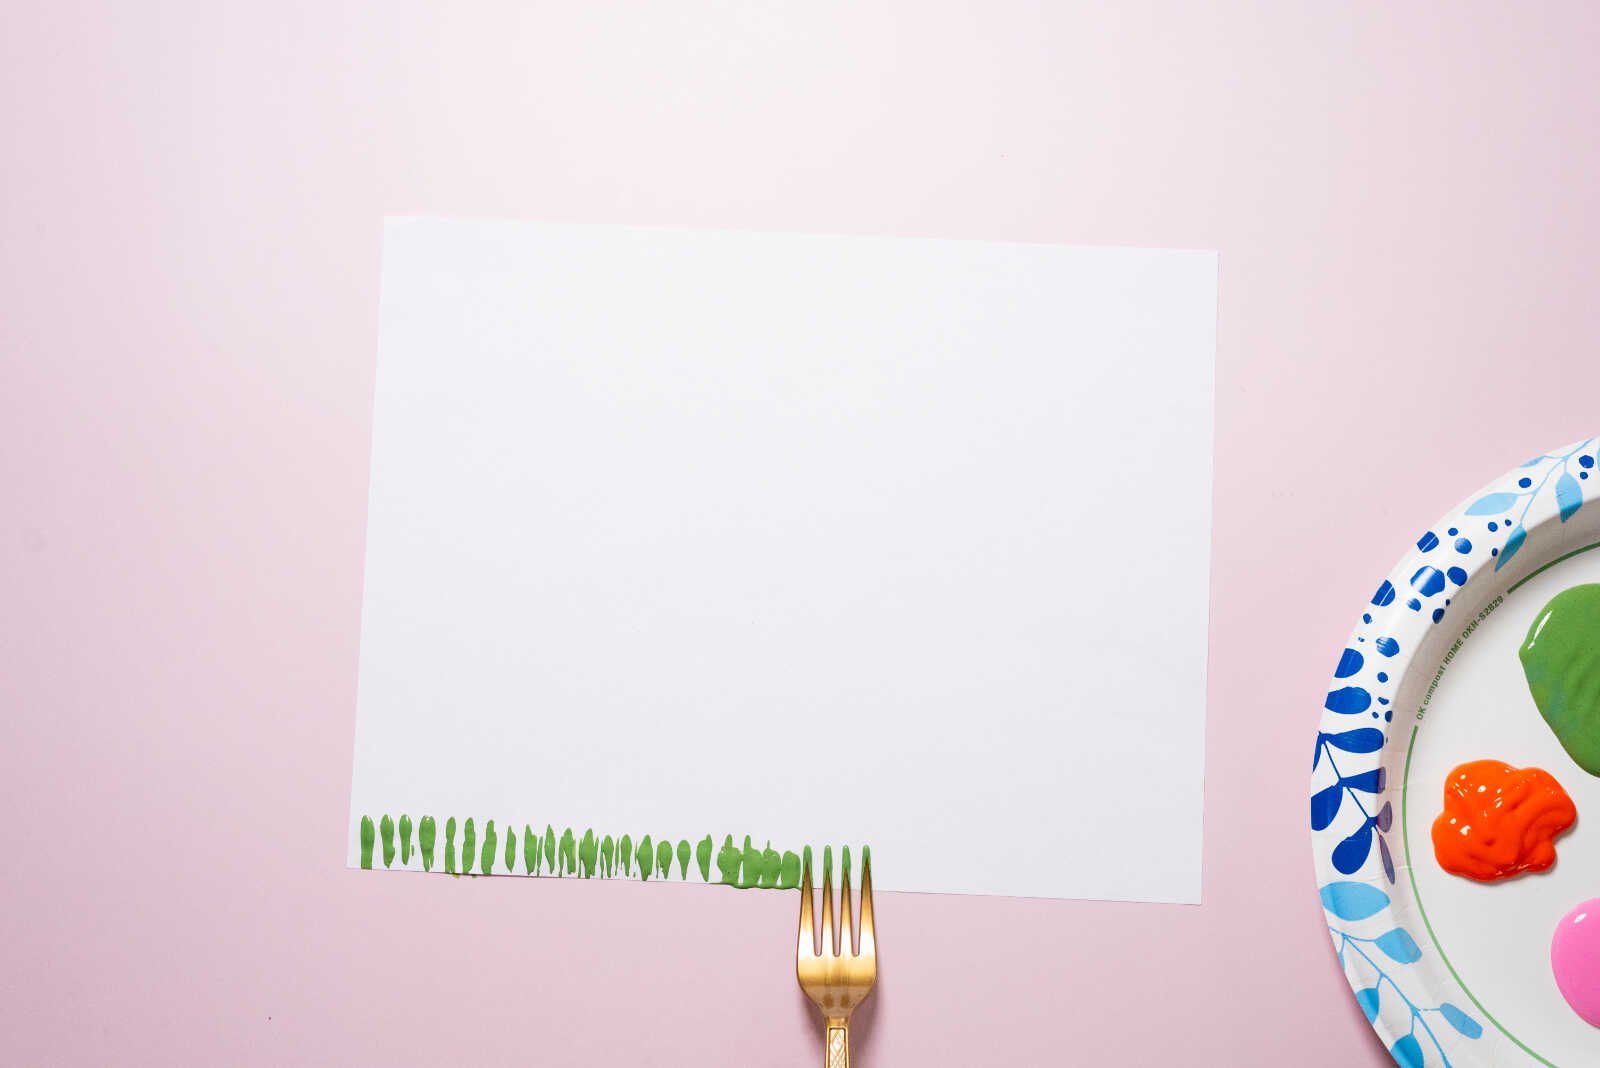
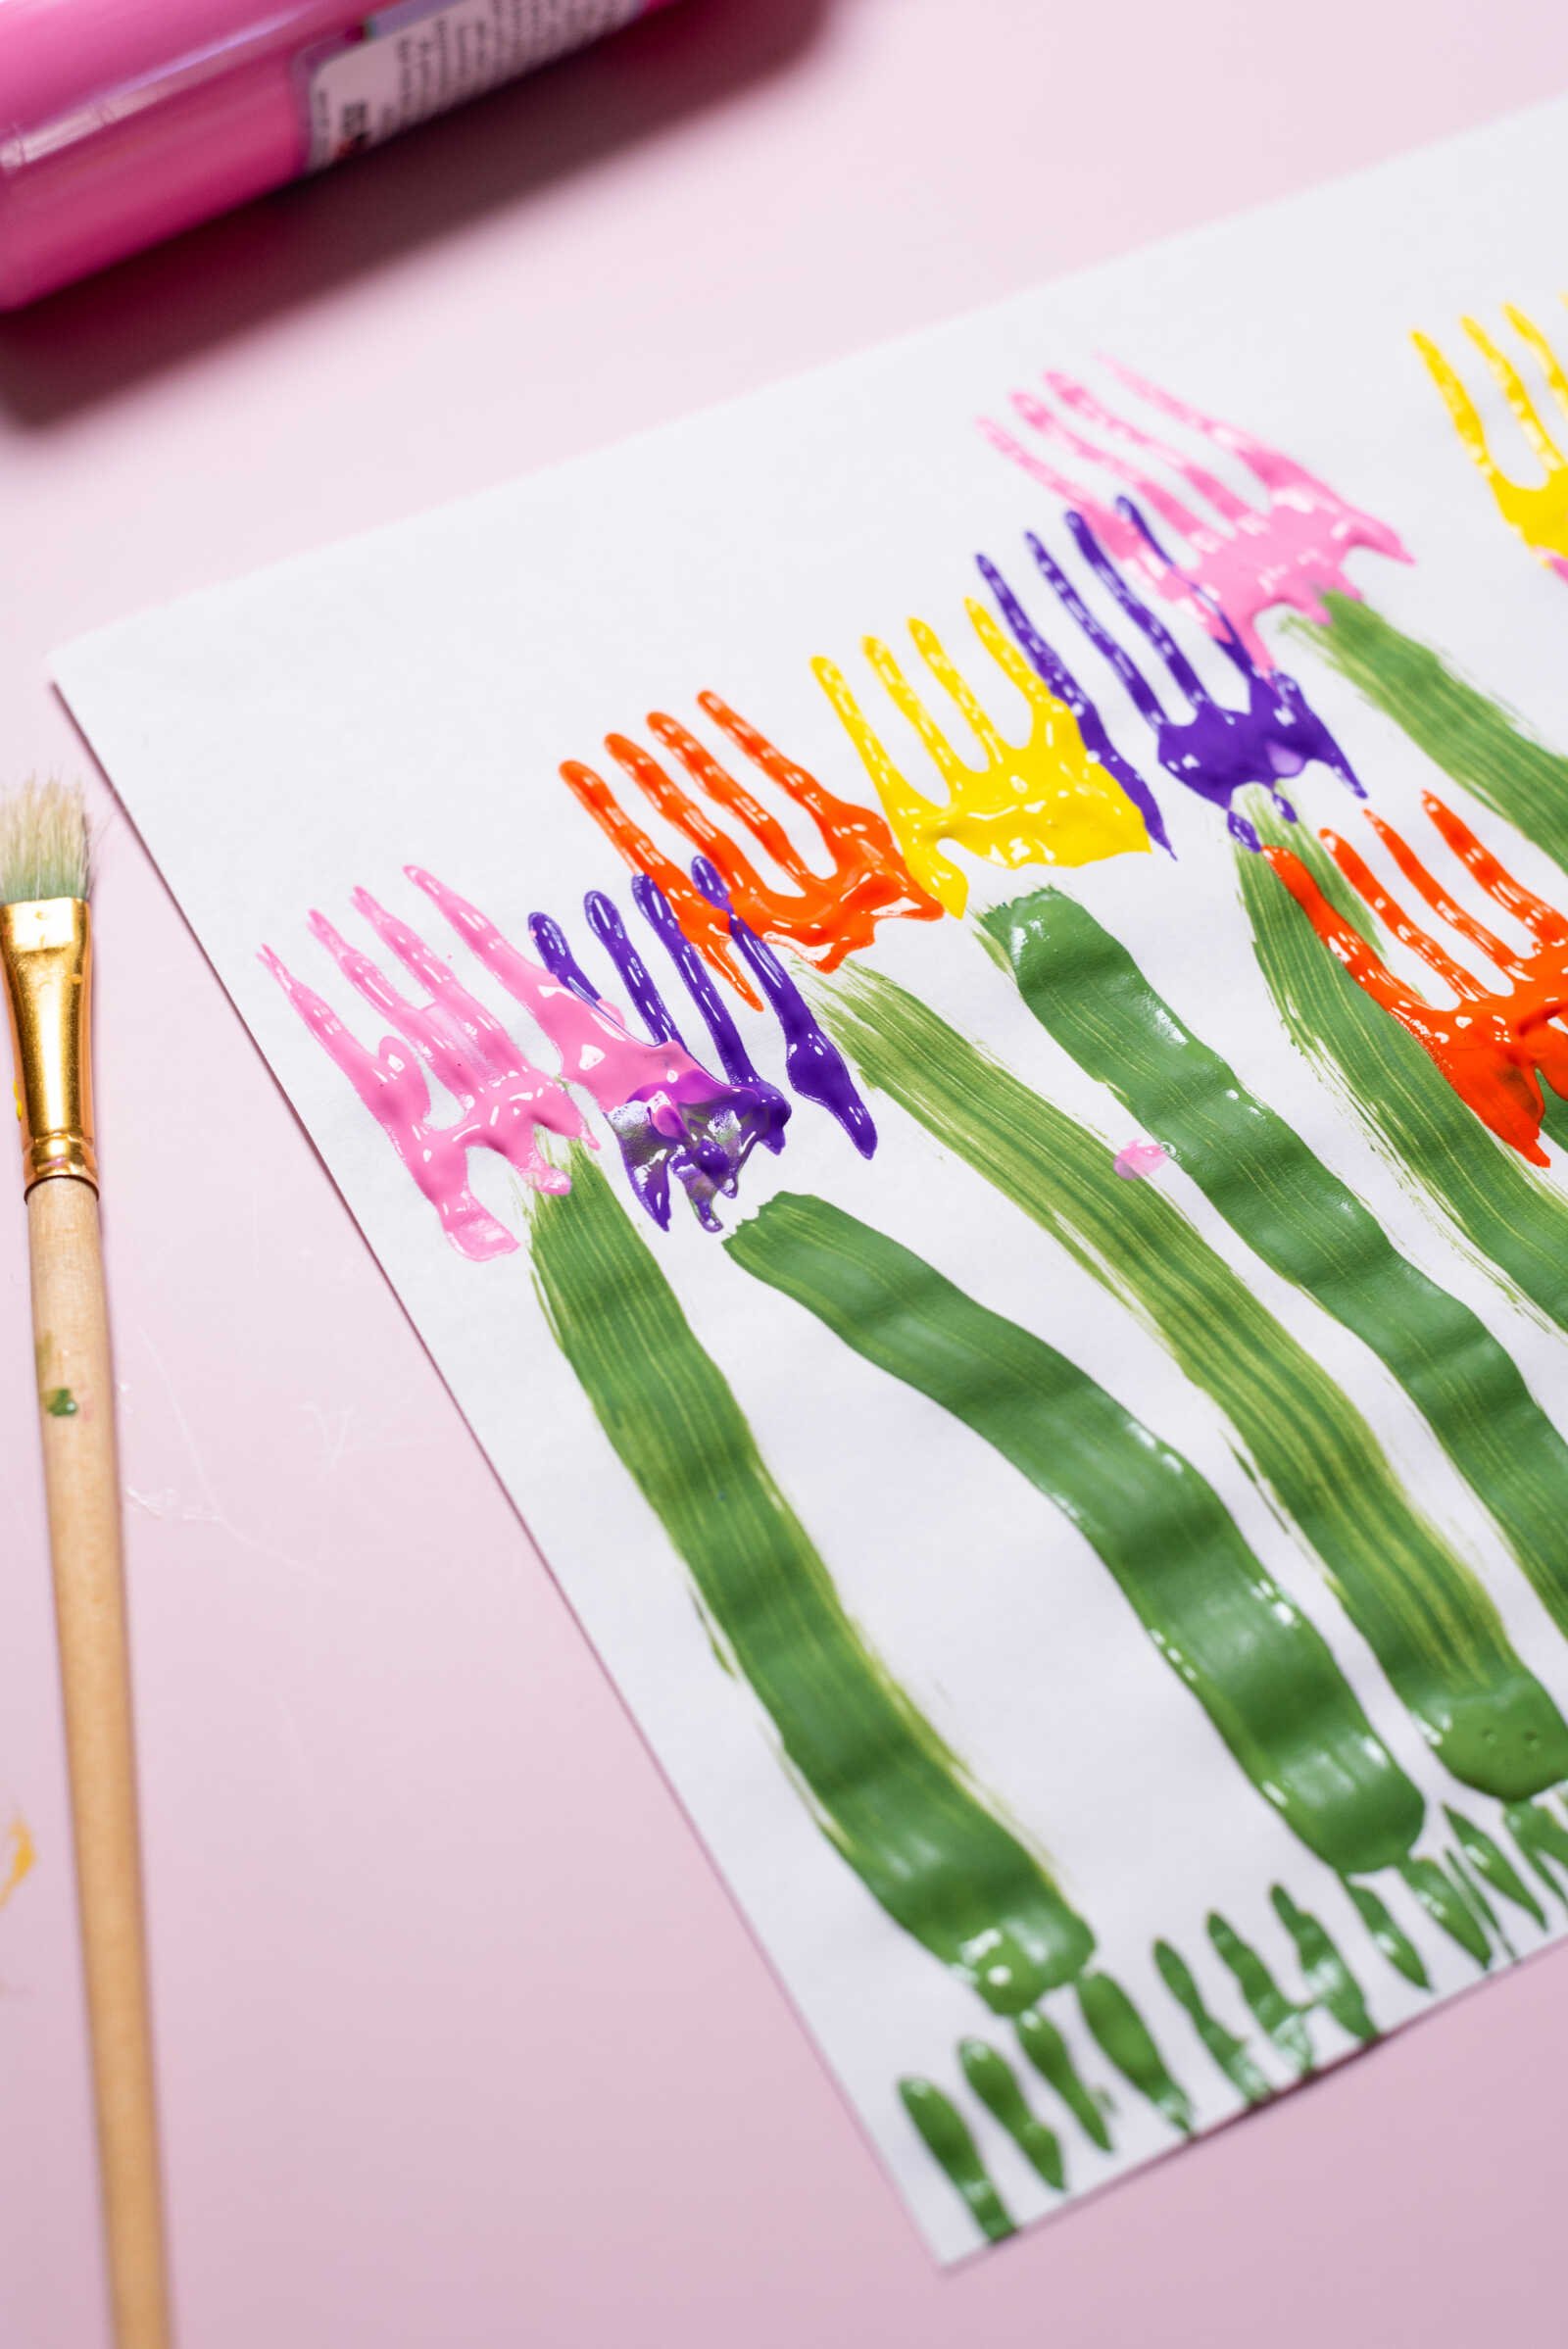
1. Stamp the Fork Grass
Start by dipping the tines (prongs) of your fork into green paint. Press the fork onto the bottom of your paper and gently slide it upward in short strokes.
Repeat this motion across the page to create a textured grassy base. Encourage kids to overlap strokes and vary directions slightly for a more natural look.
Tip: This step is perfect for younger kids—they’ll love the repetitive stamping motion!
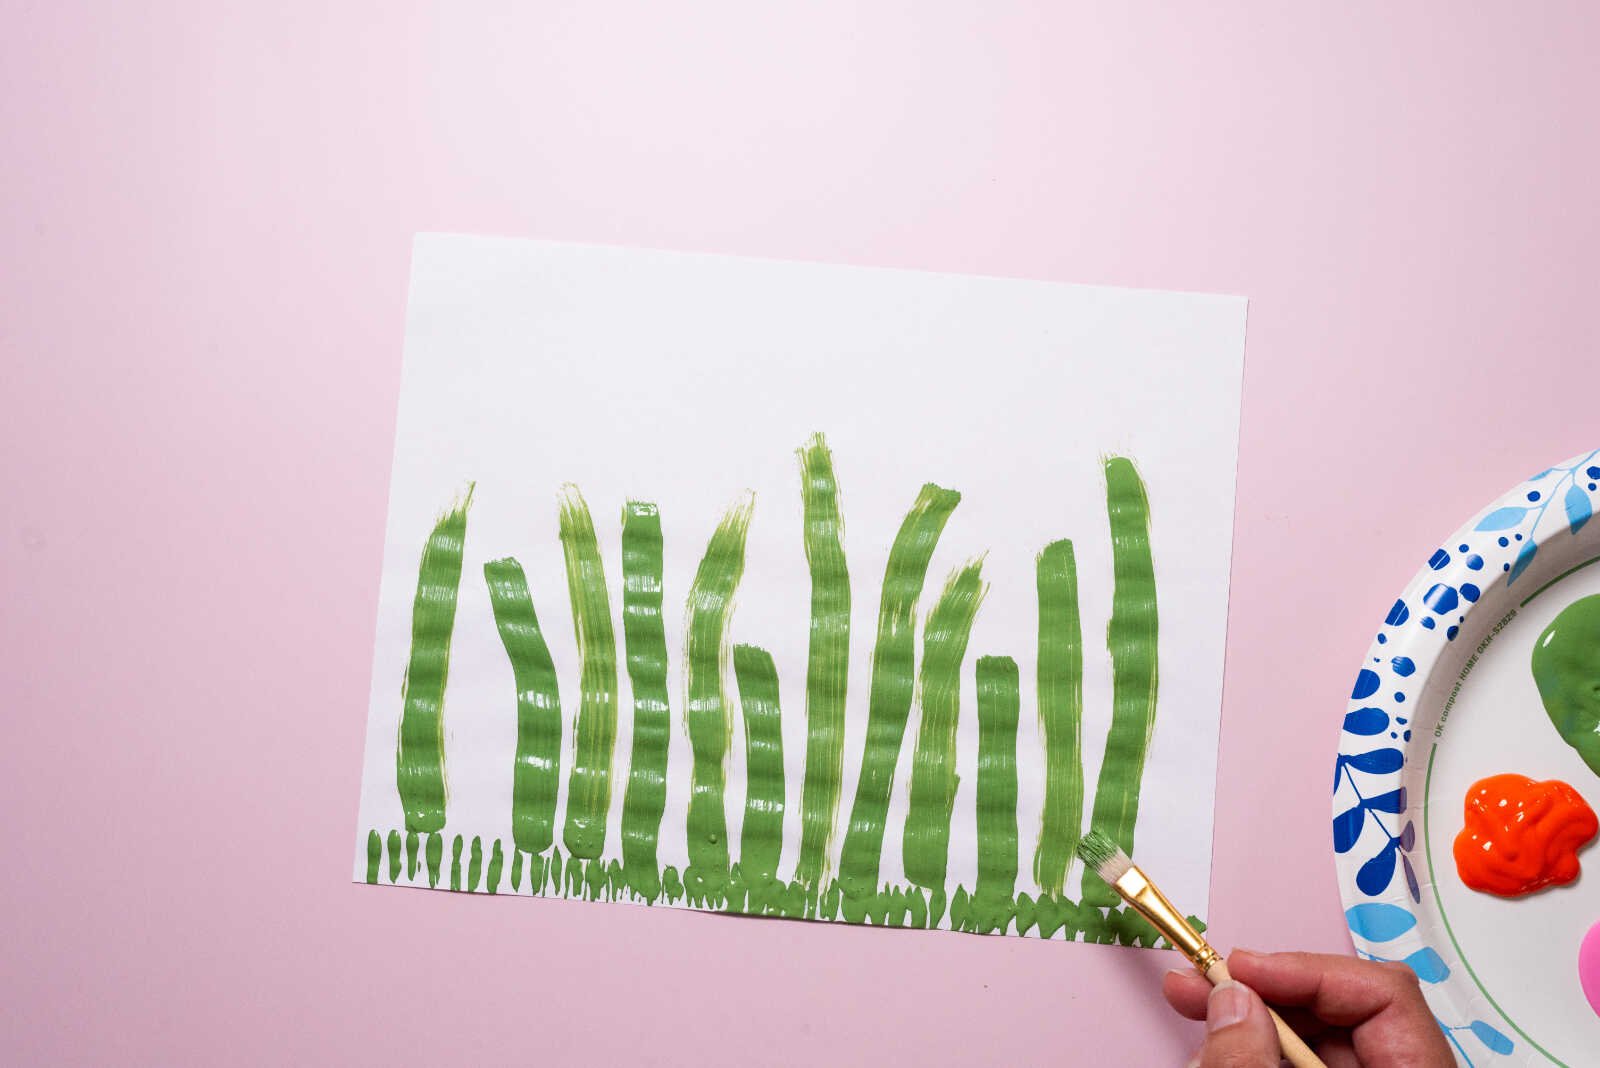
2. Paint Stems and Leaves
Using a paintbrush and green paint, draw thin vertical lines extending upward from the grass. These will become your tulip stems.
Next, add one or two simple pointed leaves on each stem. They don’t need to be perfect—simple shapes work beautifully here.
3. Load the Flower Fork
Take a clean fork and dip the back side into your chosen tulip color (pink, purple, red, or yellow).
Make sure the fork is evenly coated so the flower shape transfers clearly. You can gently rock it in the paint to cover all the tines.
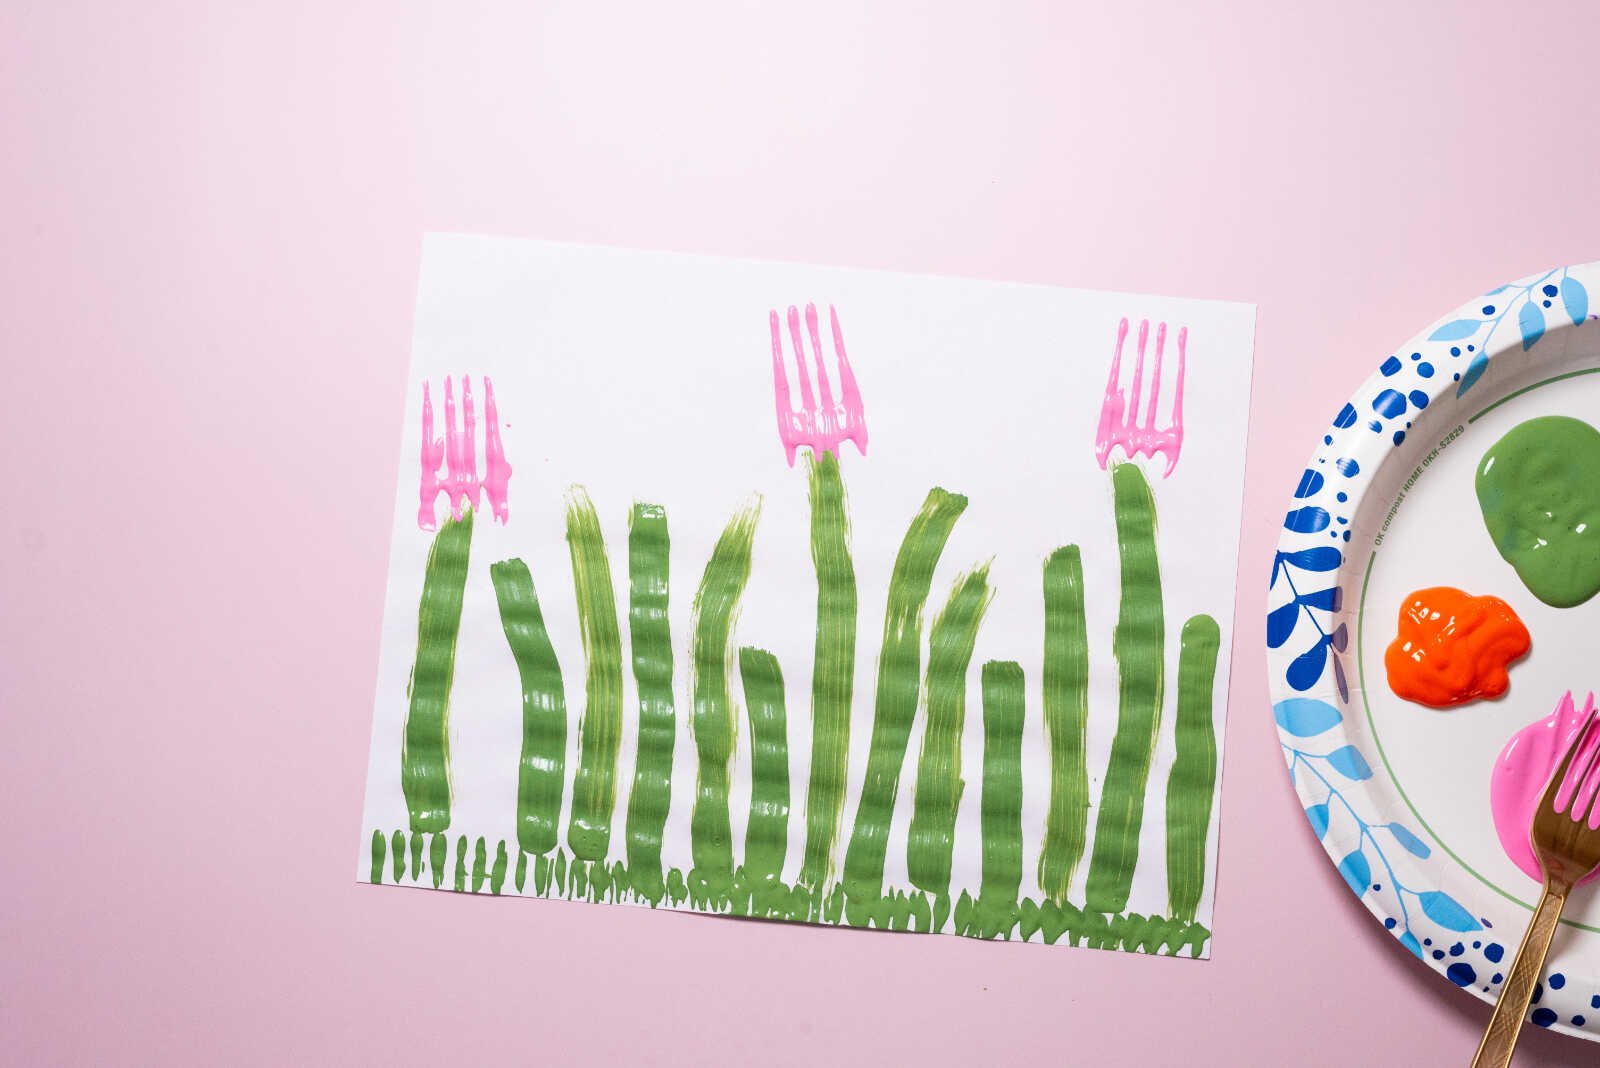
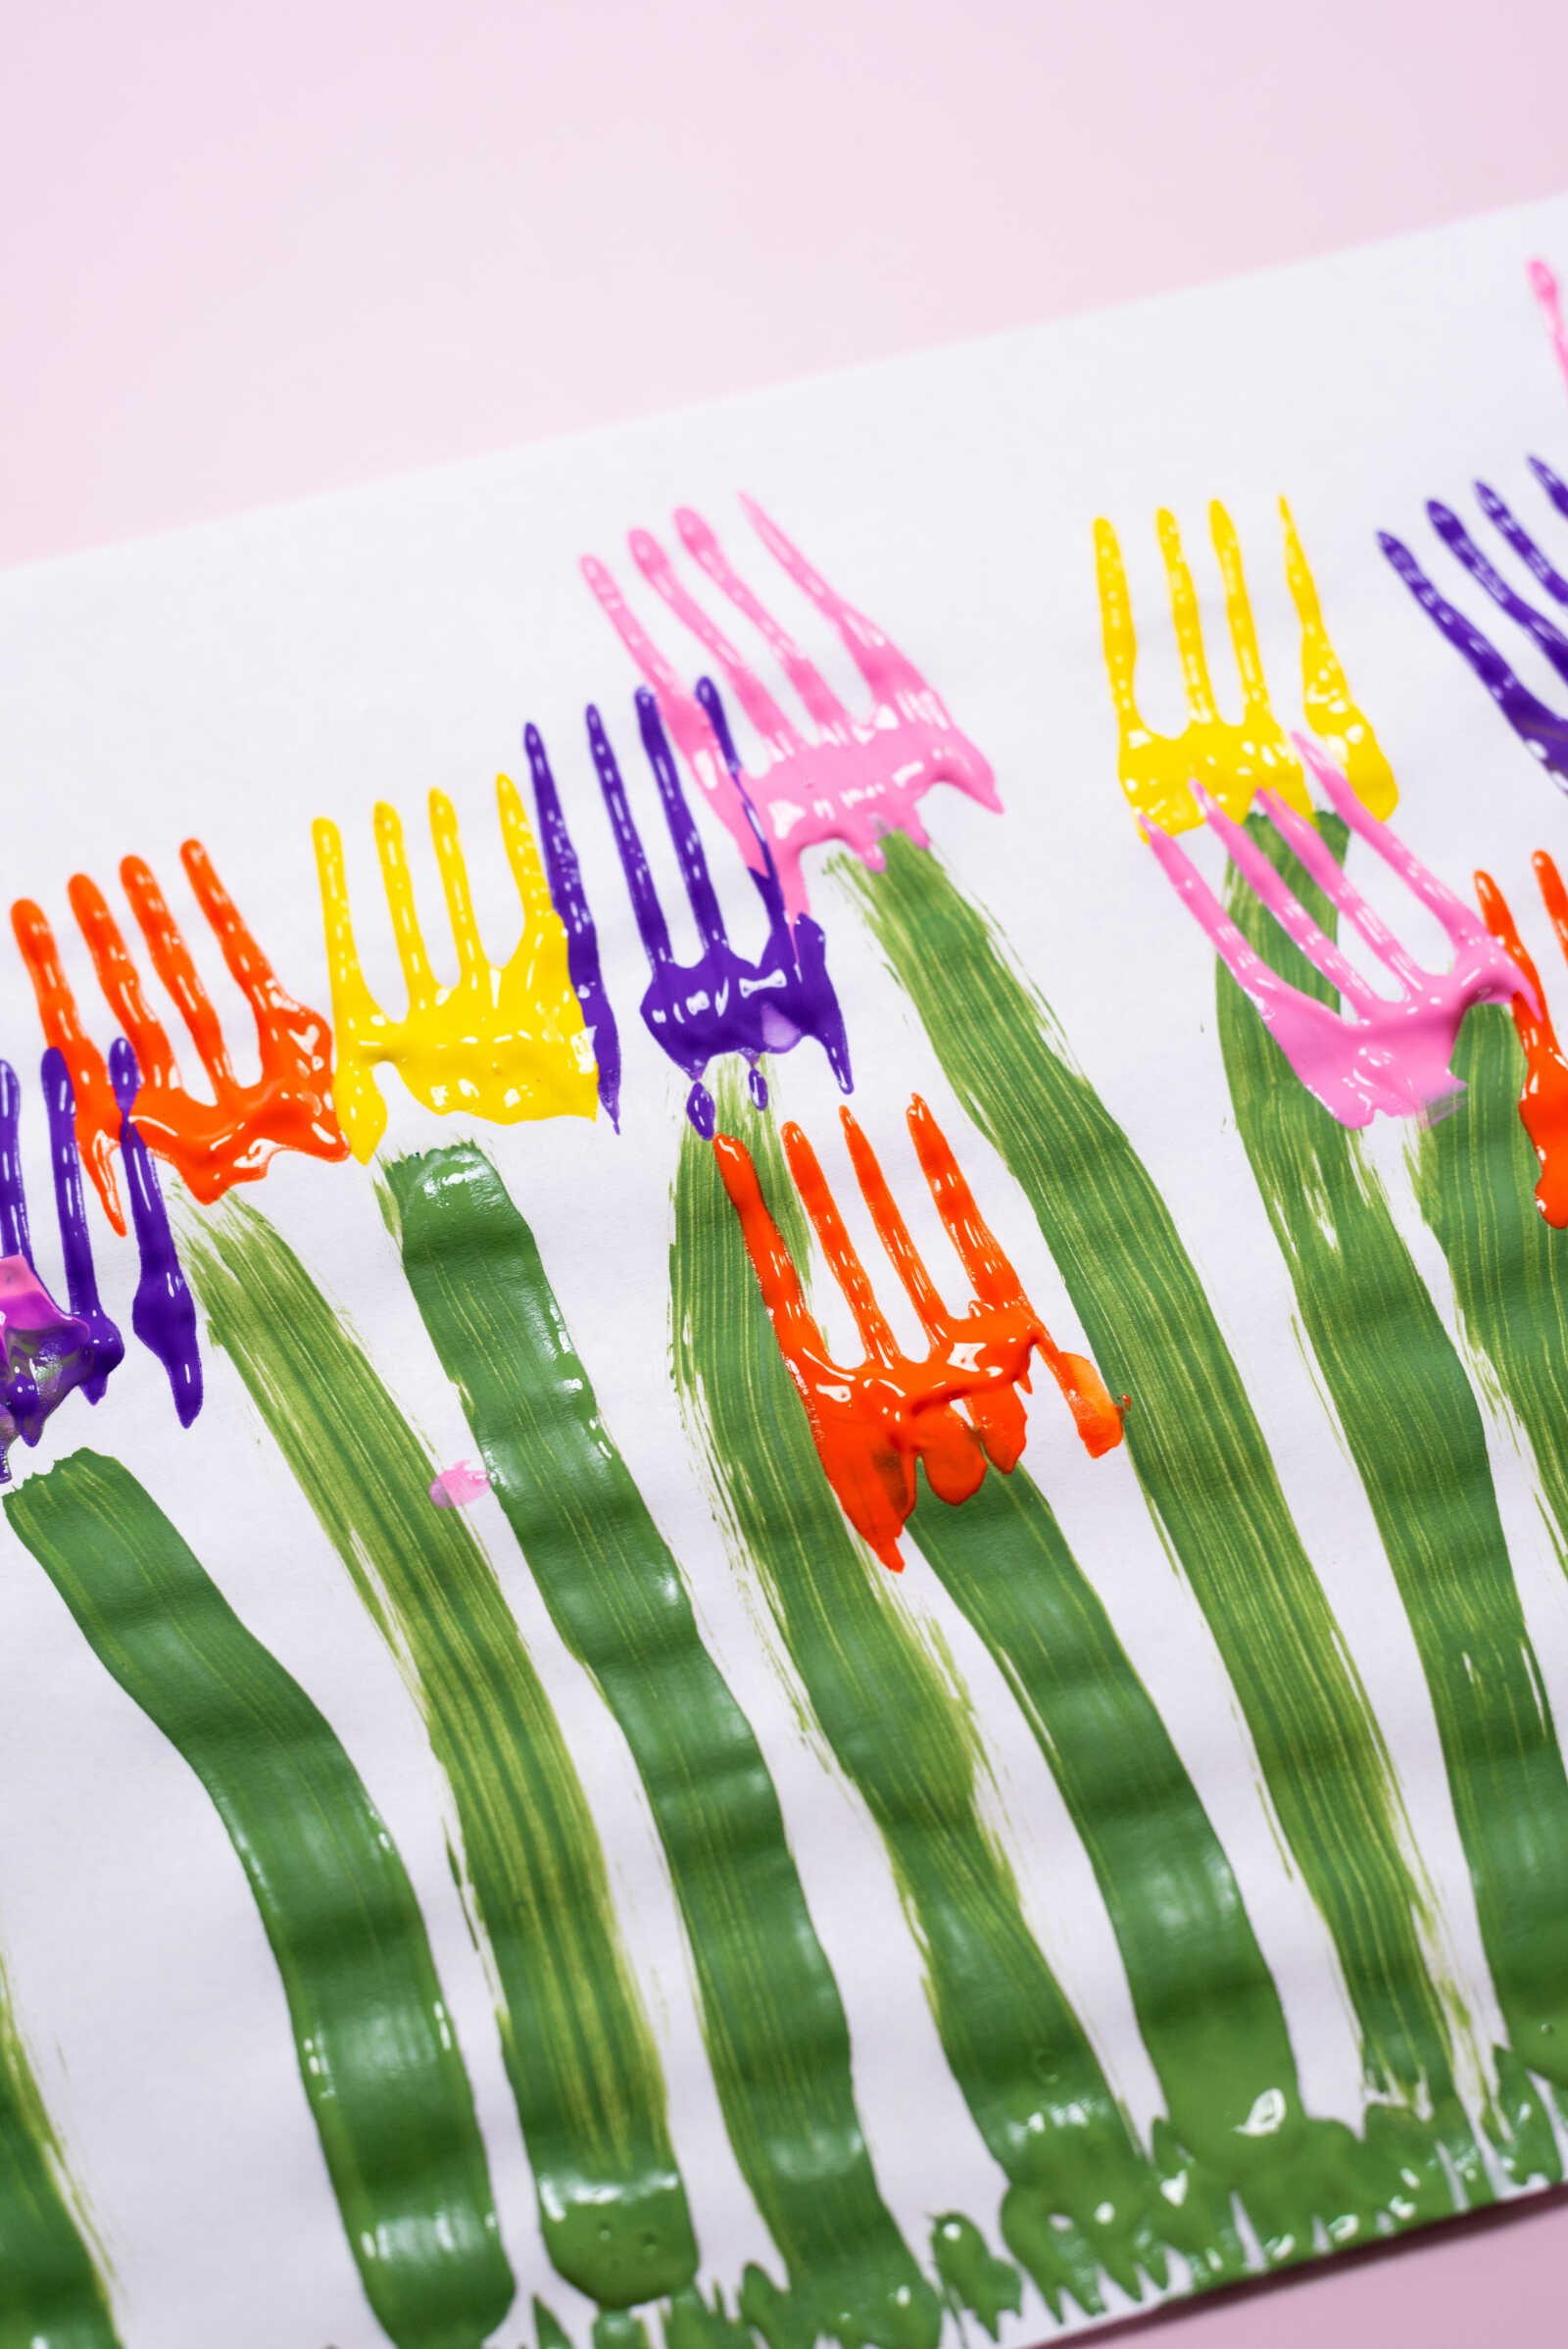
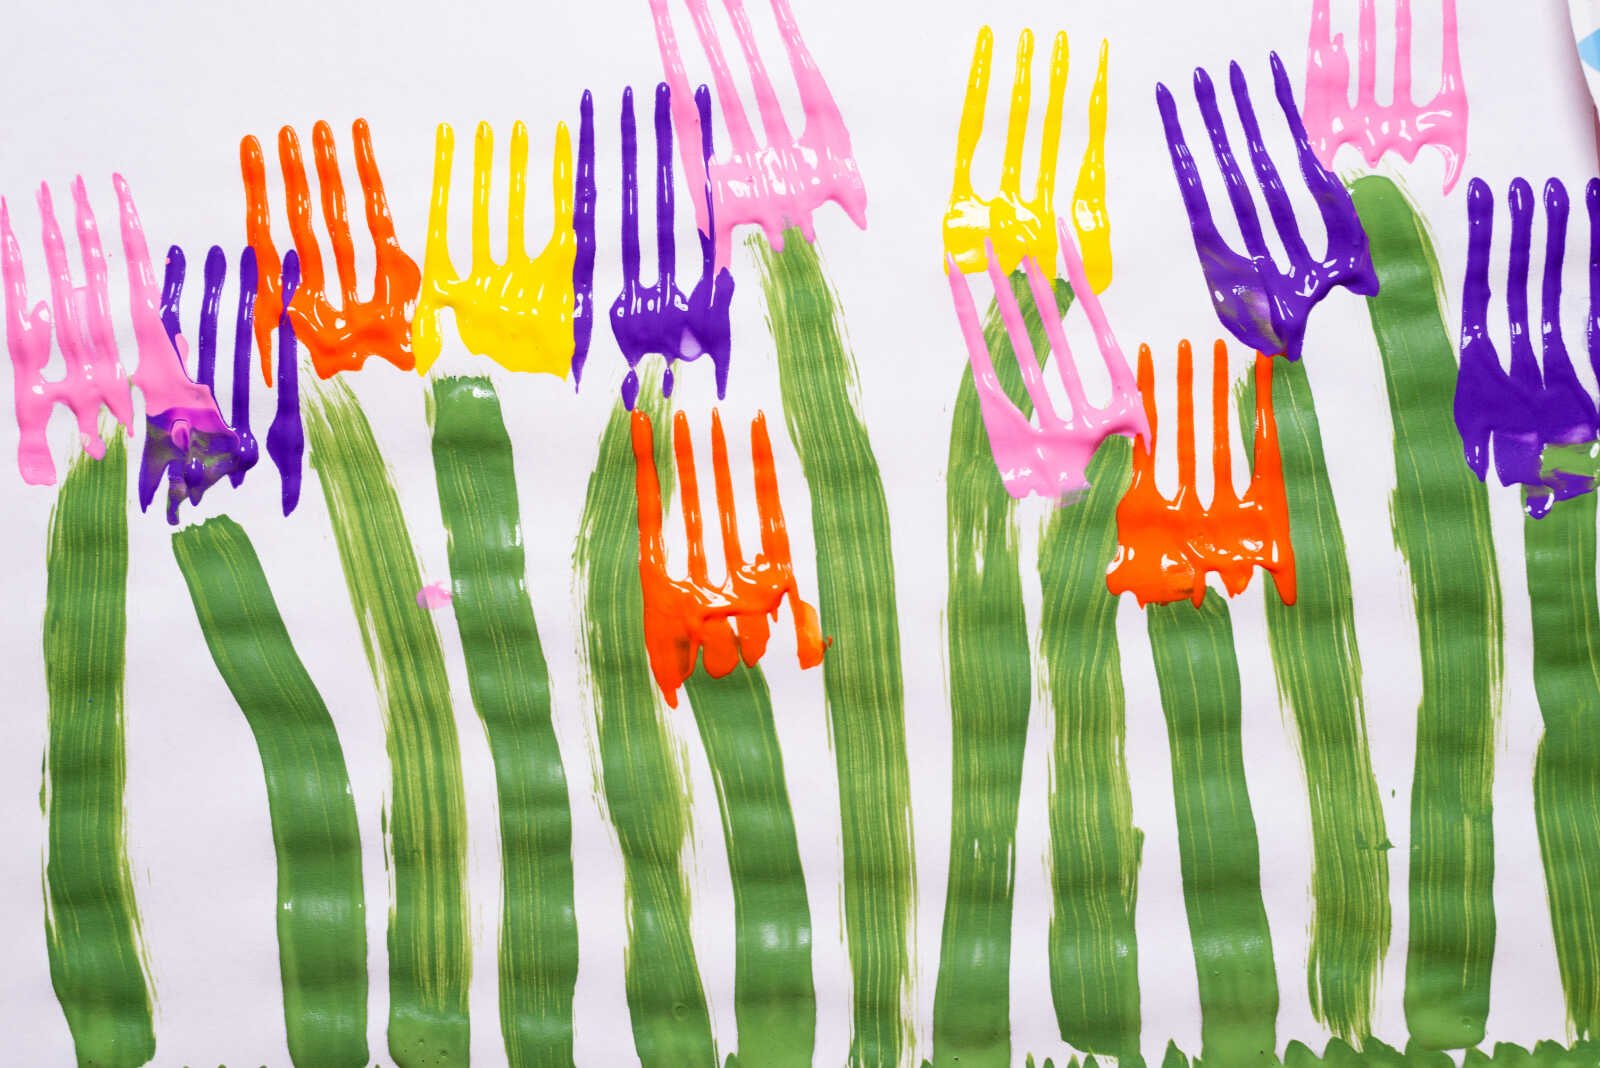
4. Stamp the Tulip Heads
Align the fork at the top of each painted stem. Press it firmly onto the paper, then give it a slight rocking motion toward the handle to create that rounded tulip shape.
Lift the fork straight up to reveal your flower—this is the moment kids get SO excited about!
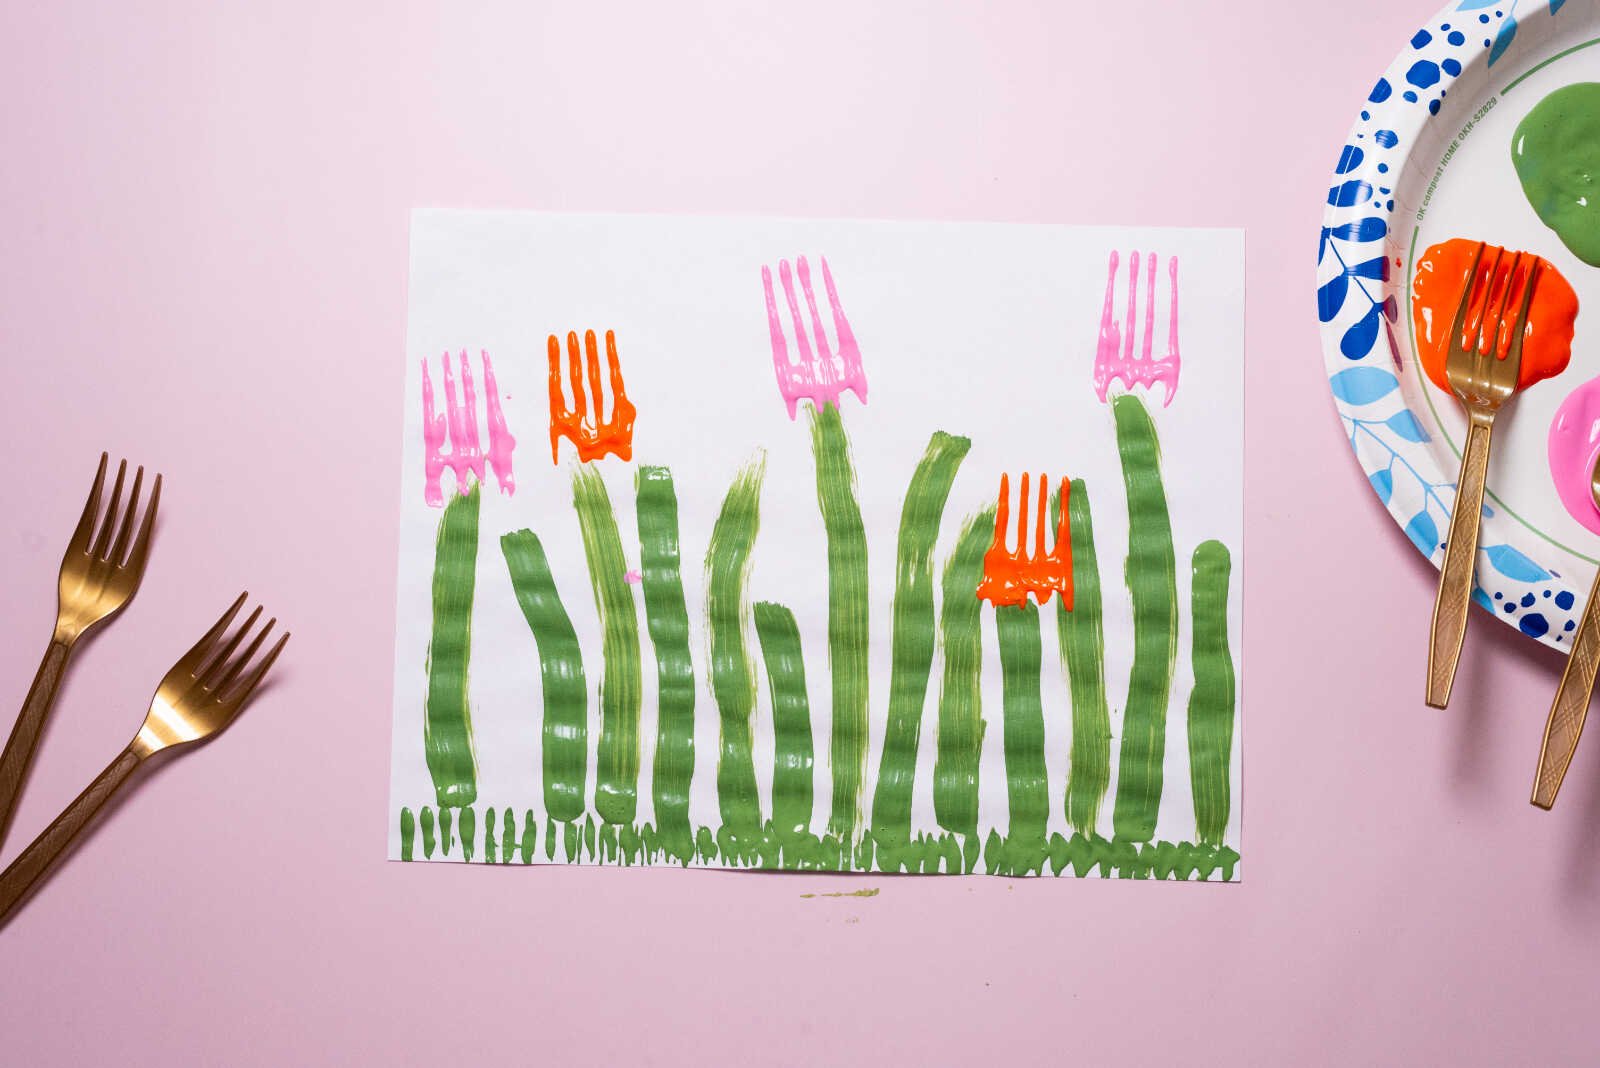
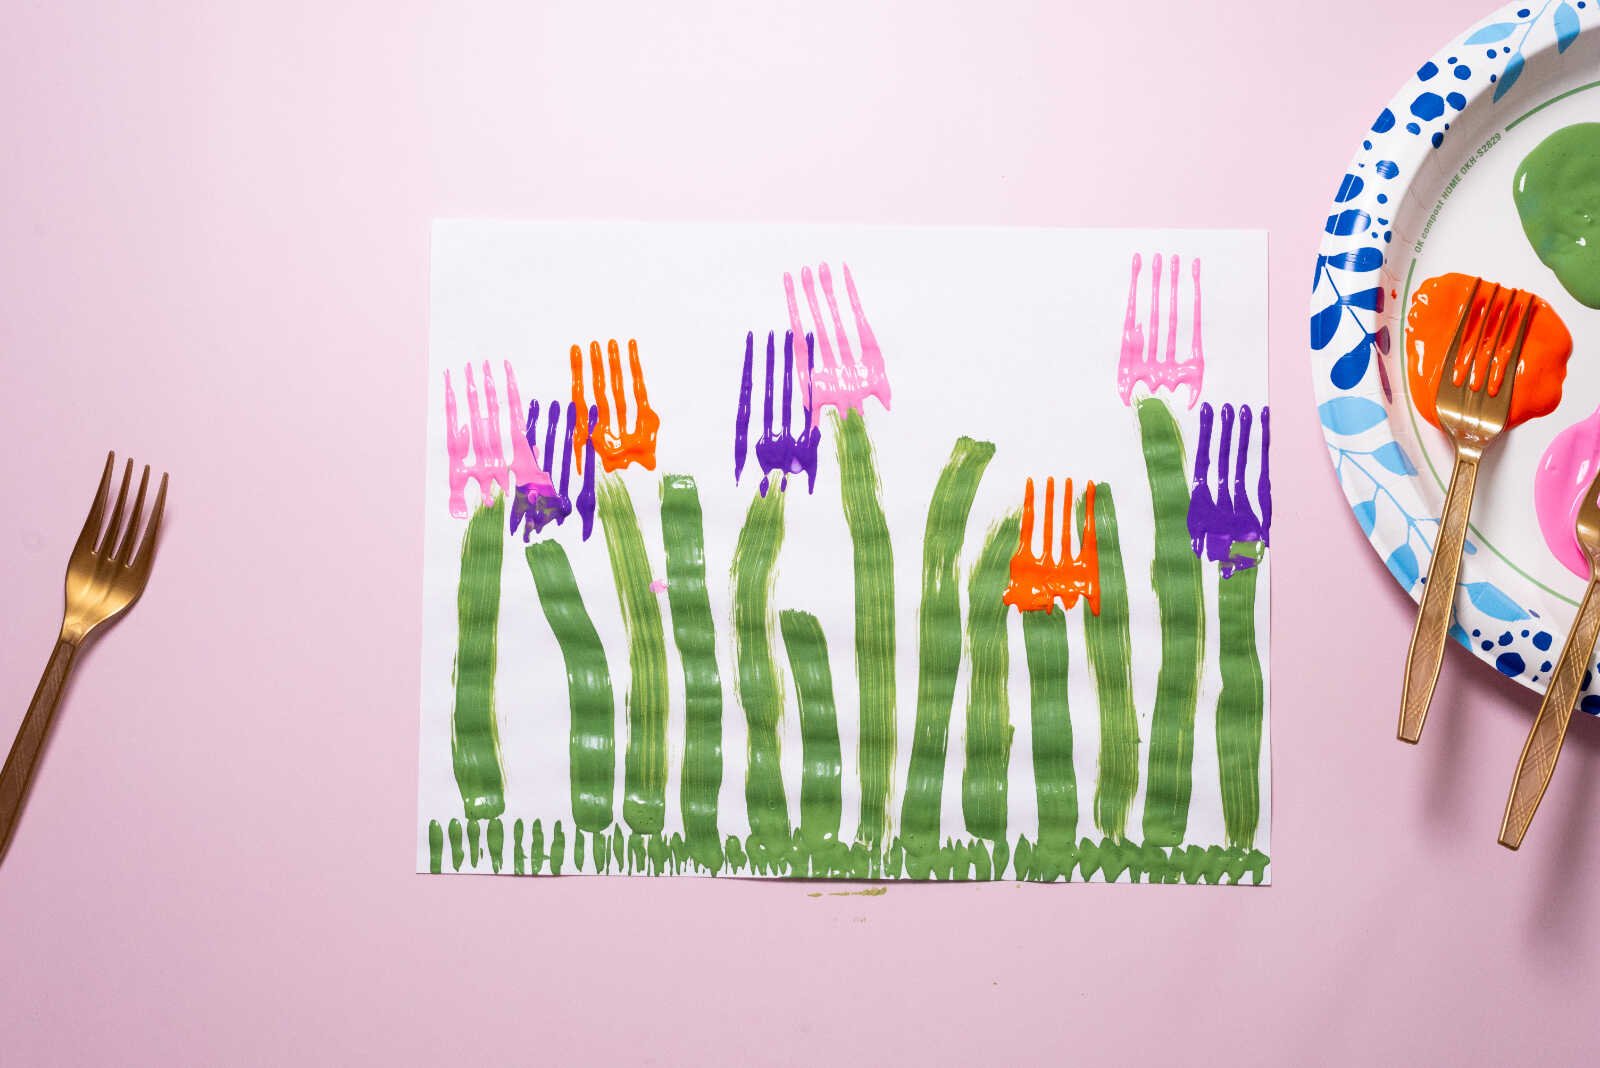
5. Build the Garden
Repeat the stamping process using different colors for each stem.
Encourage kids to mix and match colors to create a vibrant spring garden. You can also overlap flowers slightly to give the artwork more depth.
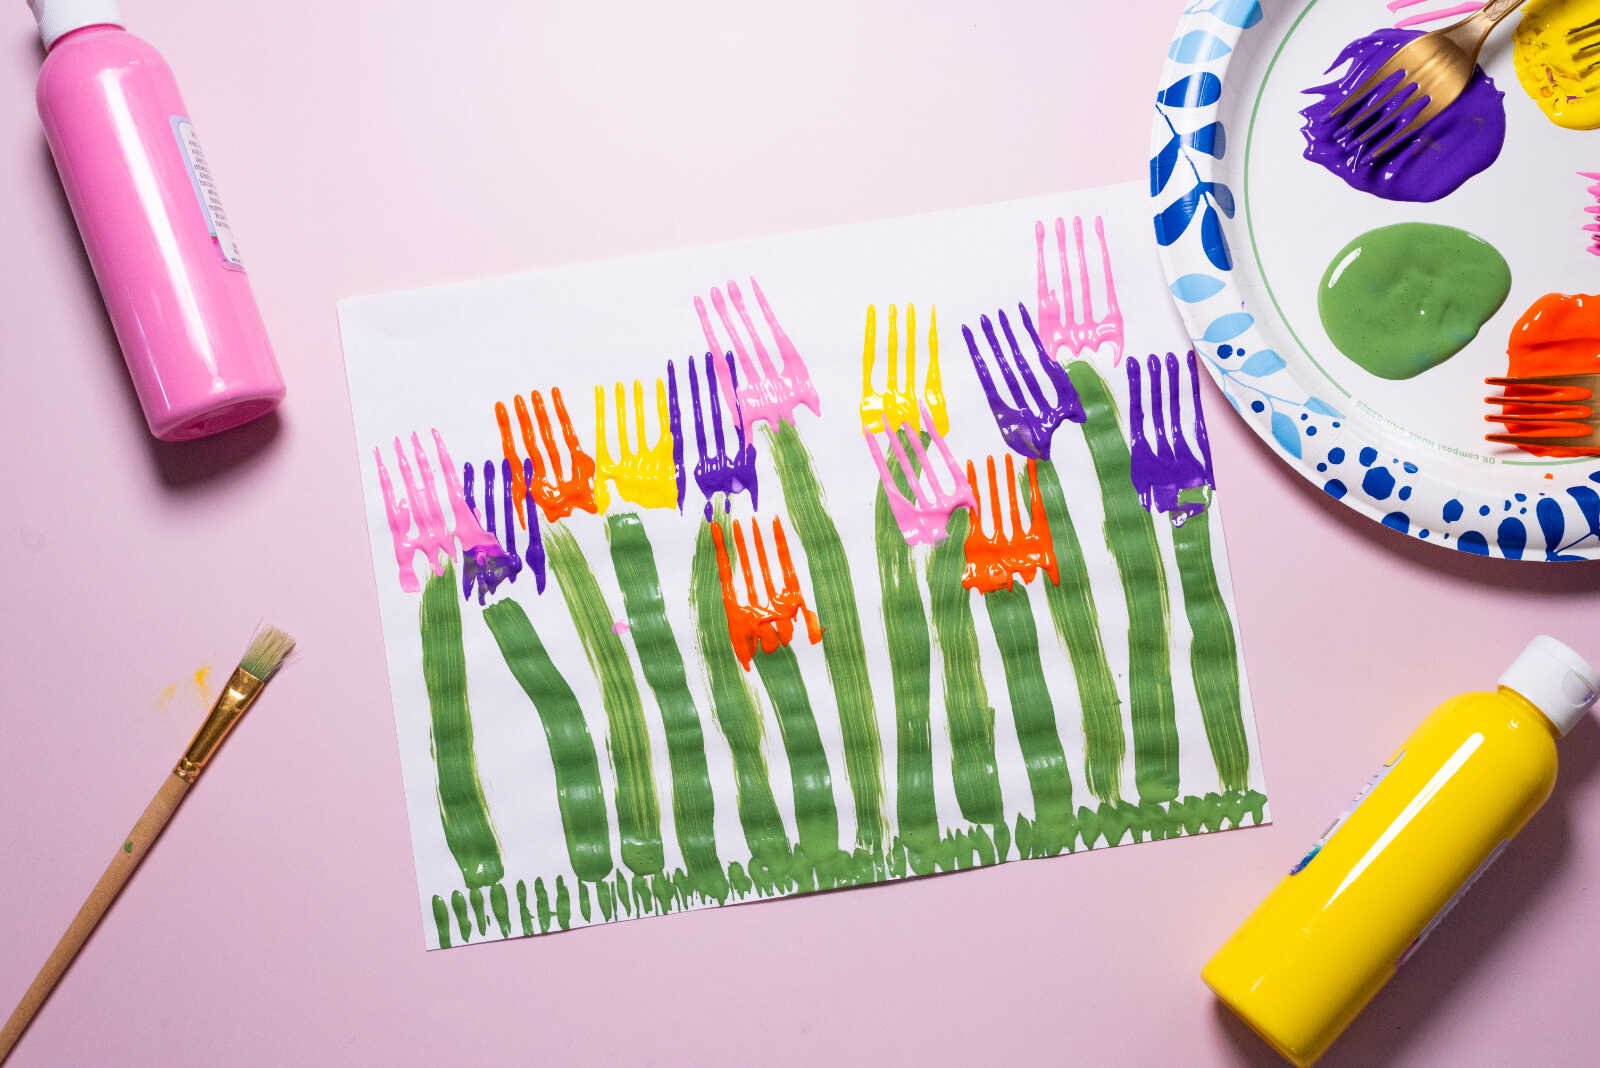
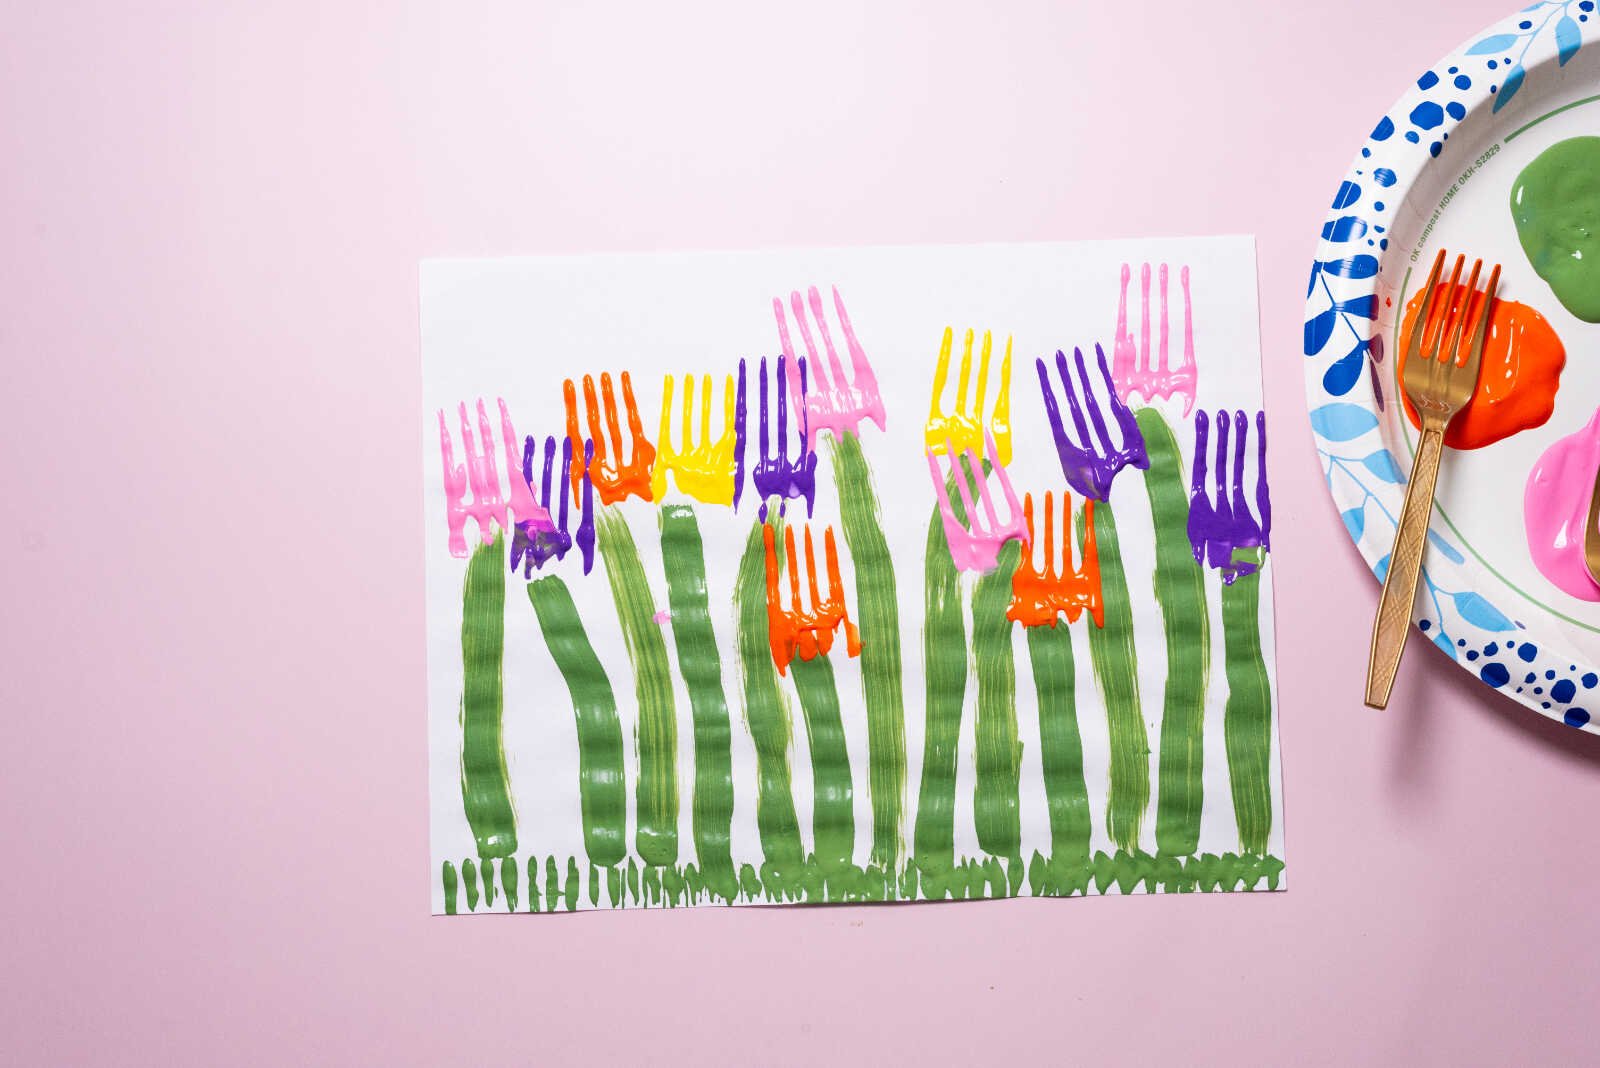
6. Dry and Display
Let the paint dry completely before moving or displaying the artwork.
Once dry, your child’s tulip masterpiece is ready to be:
- Hung on the fridge
- Framed as spring décor
- Gifted to grandparents
- Used as a homemade card
Tips for Success (Especially with Little Kids)
If you’re doing this with toddlers or preschoolers, here are a few helpful tips:
- Use washable paint to make cleanup stress-free
- Lay down a tablecloth or butcher paper
- Keep a damp cloth nearby for quick hand wipes
- Pre-pour paint onto plates to avoid spills
- Demonstrate once, then let them explore freely
Remember—this craft is all about process over perfection.
Creative Variations
Once your kids get the hang of fork stamping, you can easily switch things up to keep the activity fresh and exciting.
Try Different Backgrounds
- Light blue paper for a sky effect
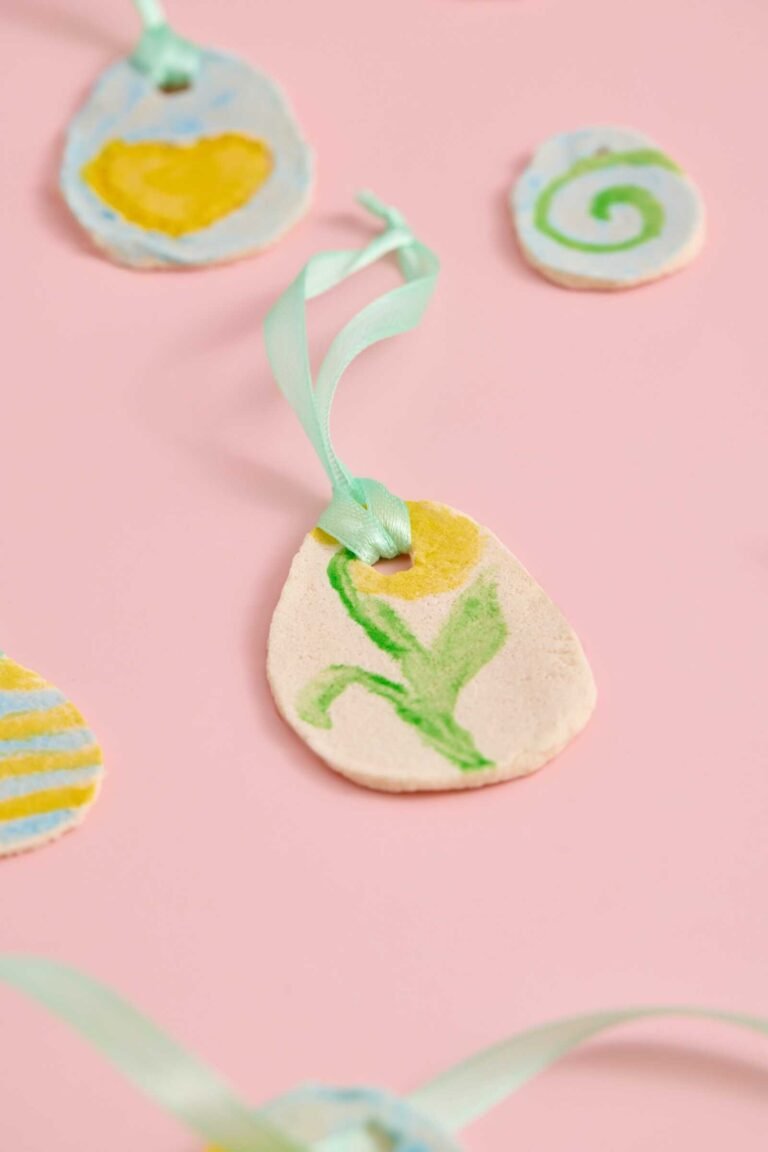
- Pastel paper for Easter-themed art
- Add a painted sun or clouds
Add Mixed Media
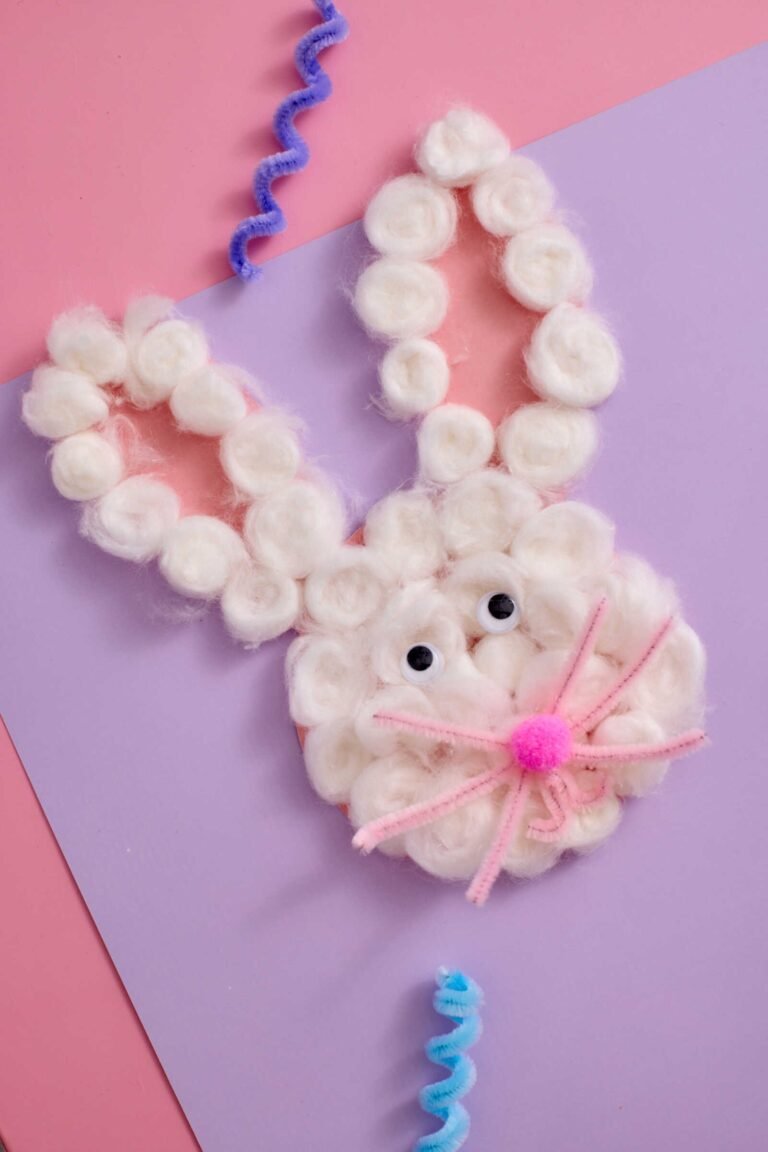
- Glue on cotton balls for clouds
- Sprinkle glitter on wet paint
- Use stickers like butterflies or ladybugs
Turn It Into a Card
Fold the paper in half and write a message inside to create a DIY Mother’s Day or spring greeting card.
Educational Benefits
This isn’t just a cute craft—it’s also packed with learning opportunities.
Kids will naturally practice:
- Color recognition (identifying and choosing colors)
- Counting skills (number of flowers or stems)
- Fine motor control (holding forks and brushes)
- Creative expression
You can even turn it into a mini lesson by talking about:
- How tulips grow
- Spring seasons and weather
- Garden ecosystems
Why This Craft is Perfect for Spring
Spring crafts are all about fresh starts, color, and creativity, and tulips are one of the most recognizable symbols of the season.
This fork-stamped tulip project captures that perfectly by:
- Using bright, cheerful colors
- Mimicking real garden textures
- Encouraging imaginative play
It’s also ideal for:
- Easter activities
- Classroom art projects
- Playdates
- Homeschool art time
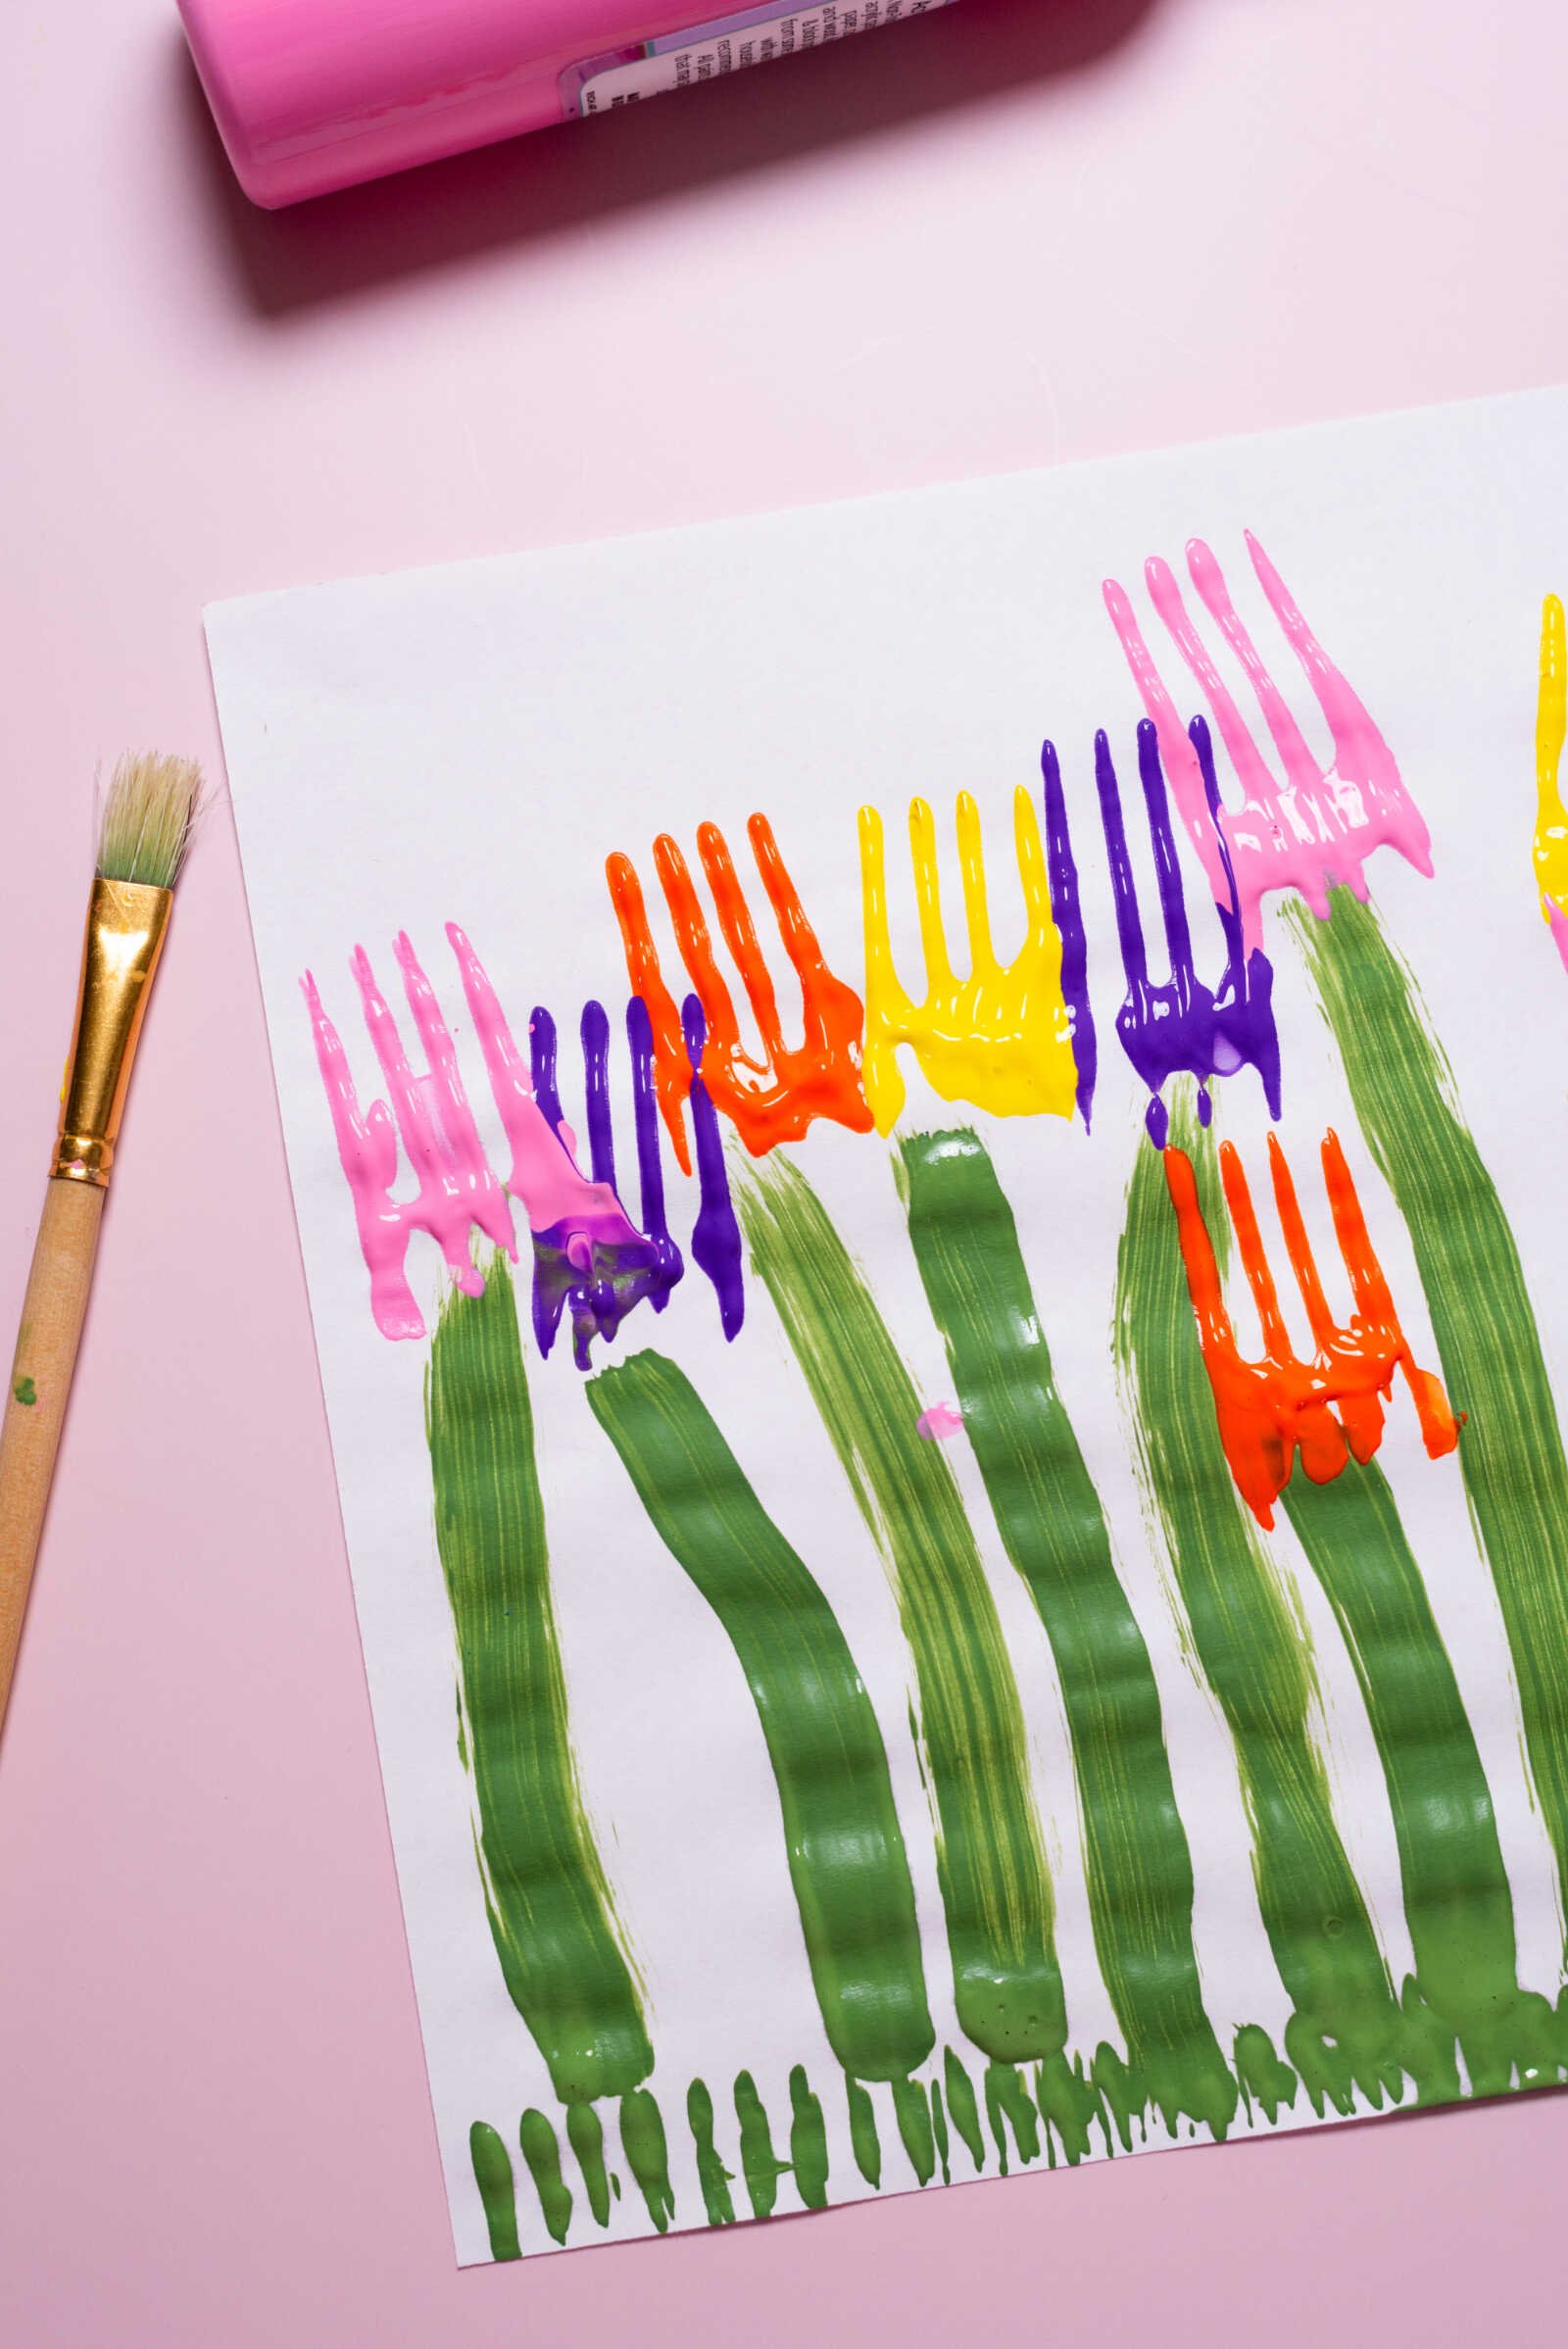
Making It Pinterest-Worthy
Since you’re likely creating content for your blog or Pinterest (and I know you love a good viral craft!), here are a few styling tips:
- Photograph the artwork flat-lay style on a clean surface
- Include paint supplies in the frame for context
- Capture step-by-step shots
- Use natural lighting near a window
Pin titles you could use:
- “Easy Fork Painting Tulips Craft for Kids”
- “Spring Tulip Art Activity Using a Fork”
- “Simple Preschool Flower Craft Idea”
Final Thoughts
This fork-stamped tulips kids craft is proof that you don’t need fancy supplies to create something beautiful. With just a fork, some paint, and a little imagination, kids can create a colorful spring garden they’ll be proud of.
It’s simple enough for little hands, engaging enough to hold their attention, and versatile enough to adapt for different ages and skill levels.
Most importantly, it creates those sweet, messy, joy-filled moments that make crafting with kids so special.

One Comment